

December 30, 2010
Smurf Turf Giveaway
My cousin is super skilled at making crocheted cuteness and she's doing a giveaway. Go check her out here and enter to win! http://www.kshammond.blogspot.com/
December 1, 2010
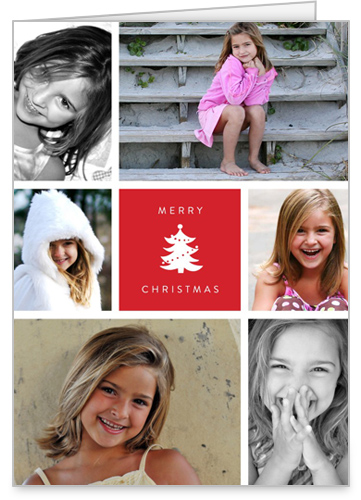
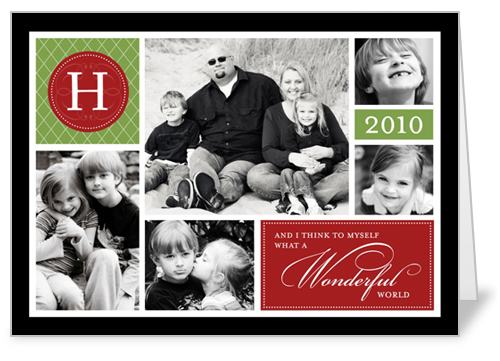
Shutterfly!!!
Every year I plan to put together Christmas cards and get them sent out but it never seems to happen. I don’t even go and buy the ugly cards that you find at the dollar store to send out! That is every year until now! Because this year I'm sending everyone a Shutterfly Holiday Card!
I was first introduced to Shutterfly a couple years ago after another blogger commented on their products. I was hooked after seeing the price of the pictures prints, the photo books, the Christmas Photo Cards and all the other wonderful products from Shutterfly.
I’ve ordered pictures from them multiple times and have always been so impressed by the quality of each picture. I am currently working on a photo book right now that I actually got for FREE! Shutterfly is always sending out Promo codes for free items, free shipping, or reduced prices. I’m all about shopping the sales!!
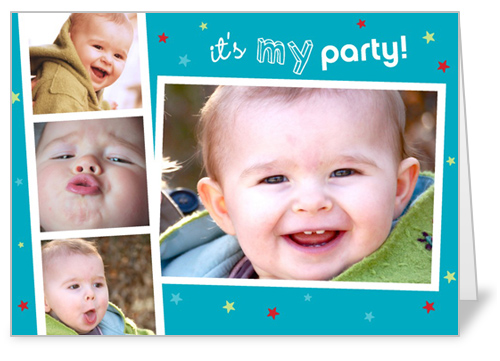
I might have to throw Alex a New Years Birthday just so I can use these Invitations!
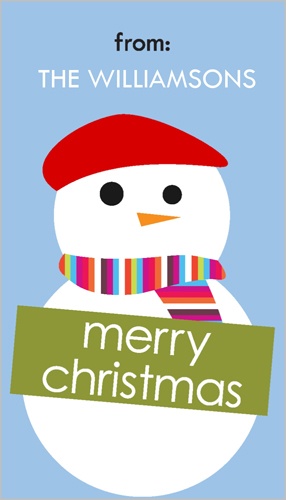
The Grandparents will probably be getting a Personalized Gift or Calendar from Shutterfly this year.


Now, if all you bloggers want 50 free shutterfly cards just click here to get the details.
November 15, 2010
Toddler Jean Skirts
My adorable little niece, Allie, just turned 2 years old the other day so I whipped up a couple skirts for her. I started by finding these perfectly girly pair of pants with pockets that have bows and little flowers and slits at the bottom. The best thing about these particular pants is that they didn't have a zipper which helped a lot when I was turning it into a skirt.

I did make the mistake of cutting the pants too long. Luckily, they are a size too big, so hopefully, my little niece will be able to grow into it more when she gets a little older.

I decided to leave a little slit in the back which allows a little more movement when walking. It also helps it flare out a little more too. I used parts of the tutorial found at Crap I've Made to attach the fabric onto the bottom of the skirt.

I took what remained of the bottom of the pants and turned them into another skirt. Since I had cut the other skirt too long, this skirt was way to short. It will have to be worn with tights or stretch pants. For the top I just used white knit fabric. I used parts of a tutorial found at A Jennuine Life for this skirt.

I wasn't originally planning on making the bottom of the pants into a skirt but I couldn't pass up the little flowers, bows, and the slit.
November 2, 2010
Sir Alexander
This year we chose to make my son into a Knight! He pretty much hated the costume until we were outside getting candy. Don't you love the look of glee on his face?

For his bag I just sewed up a simple bag (tutorials all over the internet) with some fabric from my stash and then just attached a dollar store shield to the outside. For the rest of the costume I used the pattern, Simplicity 5520 with a few modifications.

As you can see, the hat didn't fit my son's large head so I had to make an additional strap in the front with some elastic in it. You can't really see it in these pictures but the gray has a shine that makes it look like chain mail.

I also didn't like the insignia that came with the pattern so I picked my own to use as the template. (The pattern has some funky Dragon/Frankenstein thing!)

I think we might have to save the gold boots for next year and make him into someone from the 70's OR into Richard Simmons! Maybe use the gold belt as his head band! hehe

As well as this one turned out, I don't think I can ever surpass last years costume!
.JPG)
October 26, 2010
Candy Corn Pumpkin!
Don't you just love decorating for Autumn? I certainly do! The other day I got some (by some I mean WAY TOO MUCH) candy corn thinking I was going to make an autumn trail mix. Since I didn't have 80% of the other ingredients for it, I decided to use it to decorate with instead. Especially, after I had gained a few pounds from munching on it for a week!

For this project I used everything I had on hand. In the spring and summer this picture frame holds a picture of one of my outings with my husband and my dear friend Mandy and her family. We have this beautiful waterfall background behind us which goes perfect with my spring/summer decor but not so well with my Autumn decorations.
I got some card stock from my stash and glued the smaller, tan card stock on the dark brown. I hot glued my candy corn in the shape that I wanted with a little twig sticking out the top. Then I used the same mat and frame from the original picture to frame my candy corn pumpkin. Super simple, quick and cheap and has saved me from eating at least 140 calories! Crafting is my new diet!!
fyi...my talented mother is responsible for the cute toll painted in the background.
September 28, 2010
Ribbon Organizer and Dry Erase Frame
A while ago, when I started making bows for my niece, I purchased most of my ribbon online in bulk. The prices and variety were great online but unfortunately most of them didn't come with the spools. I've seen so many great ideas online on how to store ribbon but most of them use the spool. I didn't come up with this idea until I started cleaning out my craft room and came across a shelf I had purchased several years ago

The shelf was in desperate need of some new paint. It was painted a teal color but it was missing a few coats so the dark (black I think) color wasn't covered completely. It needed a little sanding and paint and was ready to go.

I just picked a color from my stash and then I put some antiquing glaze on it. I found my glaze at Lowe's for around $8. I've used it on several projects and haven't put a dent in it. A little goes a VERY long ways. This glaze is so simple to use and adds character to painted pieces.

I then picked up a few wooden dowels to wrap the ribbon around. The top one as you can see, has the towel sticking out both sides. I can easily remove ribbon spools or add new ones in. For the middle dowel, I drilled a hole partially through both sides of the shelf with one side deeper than the other. It isn't one that I want to remover very frequently but it has enough give on it that I can. The final dowel is held up by ribbon that is attached to the back of the shelf. The ribbon is looped around the dowel instead of glued so I can easily remove it.
The four dowels on top are permanent. I just drilled partially down into the shelf and then glued the dowels down. I have them spaced far enough apart that I can put spools on later or I can add more vertical dowels.

The final thing I did was make a dry erase frame to go next to my ribbon holder. I often have so many ideas in my head that I forget about most of them. I wanted somewhere I could write down things that need done, reminders, and future projects.

All I did was paint it and use the antiquing glaze on it. I then cut some scrap fabric that fit just behind the glass and then closed it up. Finally, I just looped some ribbon at the bottom to store the marker.

September 15, 2010
Tomato Parmesan Crostini

Tomato Parmesan Crostini
4-5 plum, roma, or campari tomatoes
2-3 garlic cloves minced, or 2-3 tsp. minced garlic from jar
2 T. chopped fresh basil (or 2 tsp. dried)
1/4 c. olive oil
salt and pepper to taste
1/2 c. grated fresh Parmesan1/2 c. mayonnaise
bread of choice: I use a french baguette, sliced 1/2 " rounds
Combine tomatoes, garlic, basil, oil and salt & pepper in bowl and mix well. Set aside
Mix parmesan cheese and mayo in a small bowl and spread on each bread round.
Place rounds on baking sheet and top each with spoonful of tomato mixture.
Bake at 400*F for 10 minutes or until bubbly.
Thanks Leslie for sharing with me!
August 30, 2010
College Name Board
This is another one of those projects that I've had 95% done for a few years and I finally put the finishing touches on it! I found these letters at Michael but it wasn't until after I bought them that I realized they would be hard to cover because the edges are rounded. After getting some advice from friends, I settled on doing a college on each letter.

I first painted each letter and than I glued each little paper on with mod podge. I finished up by putting several coats mod podge on top. Very simple! I did the airplane and car the same way except it was a little harder to paint before putting the paper on top. They were already painted a really ugly blue and red so I spent the effort to repaint them before covering them.


The unfortunately thing about his project is that I'm going away from these colors in my son's room now that he isn't a baby anymore. Oh well! I guess it will teach me to not procrastinate finishing projects!
I think that the letters were each $1 and the airplane and car were on clearance at Michaels for .25 cents each. I'm not sure how much the board was but you can find things like that at thrift stores that either need to be repainted or sanded and stained again.
August 17, 2010
Pokemon ABC's
I had a grand idea the other day...I would use my son's current obsession with POKEMON as a teaching tool. My son knows more about Pokemon than any 4 year old should ever know (maybe more than a 25 year old should know), but we have certainly had a difficult time tackling letters and numbers. He nearly refuses to pick up a pen or pencil and write, so my hope was if I combined Pokemon and ABC's (yes, there are Pokemon for every letter of the alphabet), he might get excited about it writing and learning those letters . We'll hope and wish and work for the best! (By the way... a cool thing about this project is that it cost me $0.99 because I ran out of glue and had to buy more. I had the blank book already and just created my own template on Publisher and printed the pics off at home)

 The introduction to the book went well! My son told me that he was "going to work the hardest to be the best Pokemon trainer in the world." We may have found the ticket to getting this boy excited about reading, writing, and understanding those symbols on a page: POKEMON!

 The introduction to the book went well! My son told me that he was "going to work the hardest to be the best Pokemon trainer in the world." We may have found the ticket to getting this boy excited about reading, writing, and understanding those symbols on a page: POKEMON!
August 11, 2010
Appliqued Onesies
Threw a baby shower for a friend. Didn't want to play games. All of the guests made appliqued onesies instead. Loved the way they turned out!
 (onesies started out in the "cake" and everyone had to take a "piece". please forgive the cluttered table...all of the candy and desserts were spread out and looked super cute, but we had too many little kiddos who could reach the treats! so my table got rearranged)
I asked everyone to bring some cotton fabric scraps, I printed pictures off for ideas/templates (in grayscale and on fast draft) and provided the onesies, and this is what we came with: (I generally use wonder-under/iron-on adhesive for appliques but I learned that spray adhesive works GREAT. I think you can sometimes get away without sewing around the edges with wonder-under but you most definitely have sew around the glued fabric because the adhesive will lose its stickiness over time or as you wash it)
 (onesies started out in the "cake" and everyone had to take a "piece". please forgive the cluttered table...all of the candy and desserts were spread out and looked super cute, but we had too many little kiddos who could reach the treats! so my table got rearranged)
I asked everyone to bring some cotton fabric scraps, I printed pictures off for ideas/templates (in grayscale and on fast draft) and provided the onesies, and this is what we came with:
 (I generally use wonder-under/iron-on adhesive for appliques but I learned that spray adhesive works GREAT. I think you can sometimes get away without sewing around the edges with wonder-under but you most definitely have sew around the glued fabric because the adhesive will lose its stickiness over time or as you wash it)
SUCCESS!!!
July 28, 2010
Hooded Towel
The other day I reorganized my craft spot and came across several projects that I had all of the supplies for but I hadn't started yet. This motivated me to kick it into gear and de-craft my craft room. One of the first projects I tackled was the hooded towel for my son. I know, I'm probably the last person in blogland to actually make my own hooded towel but here it is anyways!


I used several different tutorials to help come up with my own version.
Little Birdie Secrets (Basic Hooded Towel)
Infarrantly Creative (Dimple in the back of the towel)
Break It Down Sewing & Design (Lining/Seamless)
Oopsey Daisy (Ears)

My son doesn't have a career in modeling in his future. I think I took over 20 different photos and this was the best I could do!

This is the entire towel from the backside. I made a cut little dimple in the back. Ignore the toe!

Close up of the dimple in the back.

This was taken from the inside of the towel.

I used a tutorial that had a lining so I could hide the seams. I just used the other half of the hand towel for the lining.

The cutest part.....look at those ears!
I used several different tutorials to help come up with my own version.
Little Birdie Secrets (Basic Hooded Towel)
Infarrantly Creative (Dimple in the back of the towel)
Break It Down Sewing & Design (Lining/Seamless)
Oopsey Daisy (Ears)
July 8, 2010
Inexpensive Bithday Party
This project isn't mine to share, but I couldn't resist. One of my very good friends threw an awesome Toy Story birthday party for her little 2 year old boy. I loved how much she was able to do on a very tiny budget!
First she got the idea for this shirt here, but she wanted to make something for him to wear to his birthday party. It's so cute! She already had the red shirt so she just zipped over to the local thrift store and found yellow and blue t-shirts for $1 a piece. She did have to buy some matching thread so the whole project ended up costing her < $4. Not 2 bad, right?
She also had another a great idea for an activity for the kiddos. The kids decorated paper bag vests (so they could be cowboys and cowgirls like Woody and Jessy) This cost her $2! She had the paper bags and crayons, she just bought two sheets of stickers at the dollar store. AND the hats and scarves were loaned from a dance teacher (with lots of costumes and props). The kids had so much fun dressing up like cowboys and cowgirls!
The kids also got to take several whacks at this... I made this cereal box pinata which cost me $0. I had everything on hand (cereal boxes, tissue paper from past presents, elmer's glue, printer paper, 1 plastic sheet protector, crepe paper, and duct tape) I think my friend did spend about $10 on pinata filler stuff (she filled it with green army guys (dollar store), toy story fruit snacks, some candy, and sheriff badges (dollar store) )
With the new Toy Story 3 movie out and VERY popular, just thought I'd share some ideas for any of you that might have some birthdays to plan for this summer!

First she got the idea for this shirt here, but she wanted to make something for him to wear to his birthday party.
It's so cute! She already had the red shirt so she just zipped over to the local thrift store and found yellow and blue t-shirts for $1 a piece. She did have to buy some matching thread so the whole project ended up costing her < $4. Not 2 bad, right?She also had another a great idea for an activity for the kiddos. The kids decorated paper bag vests (so they could be cowboys and cowgirls like Woody and Jessy)
 This cost her $2! She had the paper bags and crayons, she just bought two sheets of stickers at the dollar store. AND the hats and scarves were loaned from a dance teacher (with lots of costumes and props). The kids had so much fun dressing up like cowboys and cowgirls!
The kids also got to take several whacks at this...
 I made this cereal box pinata which cost me $0. I had everything on hand (cereal boxes, tissue paper from past presents, elmer's glue, printer paper, 1 plastic sheet protector, crepe paper, and duct tape) I think my friend did spend about $10 on pinata filler stuff (she filled it with green army guys (dollar store), toy story fruit snacks, some candy, and sheriff badges (dollar store) )
With the new Toy Story 3 movie out and VERY popular, just thought I'd share some ideas for any of you that might have some birthdays to plan for this summer!
July 7, 2010
Infant Hair Bows & Headbands
About three months ago I welcomed a new niece into my family. Of course, I had to make her some bows since I just have a little boy and I've never taken the opportunity to learn how to make bows. My sister-in-law is not into big flashy pink bows that cover most of the babies head so I had to be creative and do a lot of internet searching to come up with the perfect simple bow for her.

I followed the basic how-to of small bow making but then played with different versions to make them unique.

Some of the ribbon I found at fabric & craft stores or at Walmart but I got most of my ribbon off of Ebay. I was able to get a wide variety of colors and design and quantity within my budget. I now have so much ribbon that I'm constantly looking for projects to use it with. I even tied some in my hair for the 4th of July!

Some of the bows I matched with specific outfits that my niece had.


I tried to incorporate some buttons into the bows but I never was very happy with how they turned out.


The most recent successful experiment was making a knot in the middle of the bow. It added a new element to the simple bows.

Another thing I discovered on my search was fold-over elastic. I used it to make the headbands. I could only find this online and got mine on ebay. It is extremely soft and stretchy elastic that lays smoothly on the baby's head. I just hot glued the ends together and then had ribbon wrapped around to hide the seam. It comes in a wide variety of colors as well.

I've seen the white flowers at fabric stores near the ribbon. I think they add a nice sophisticated touch to the bows.
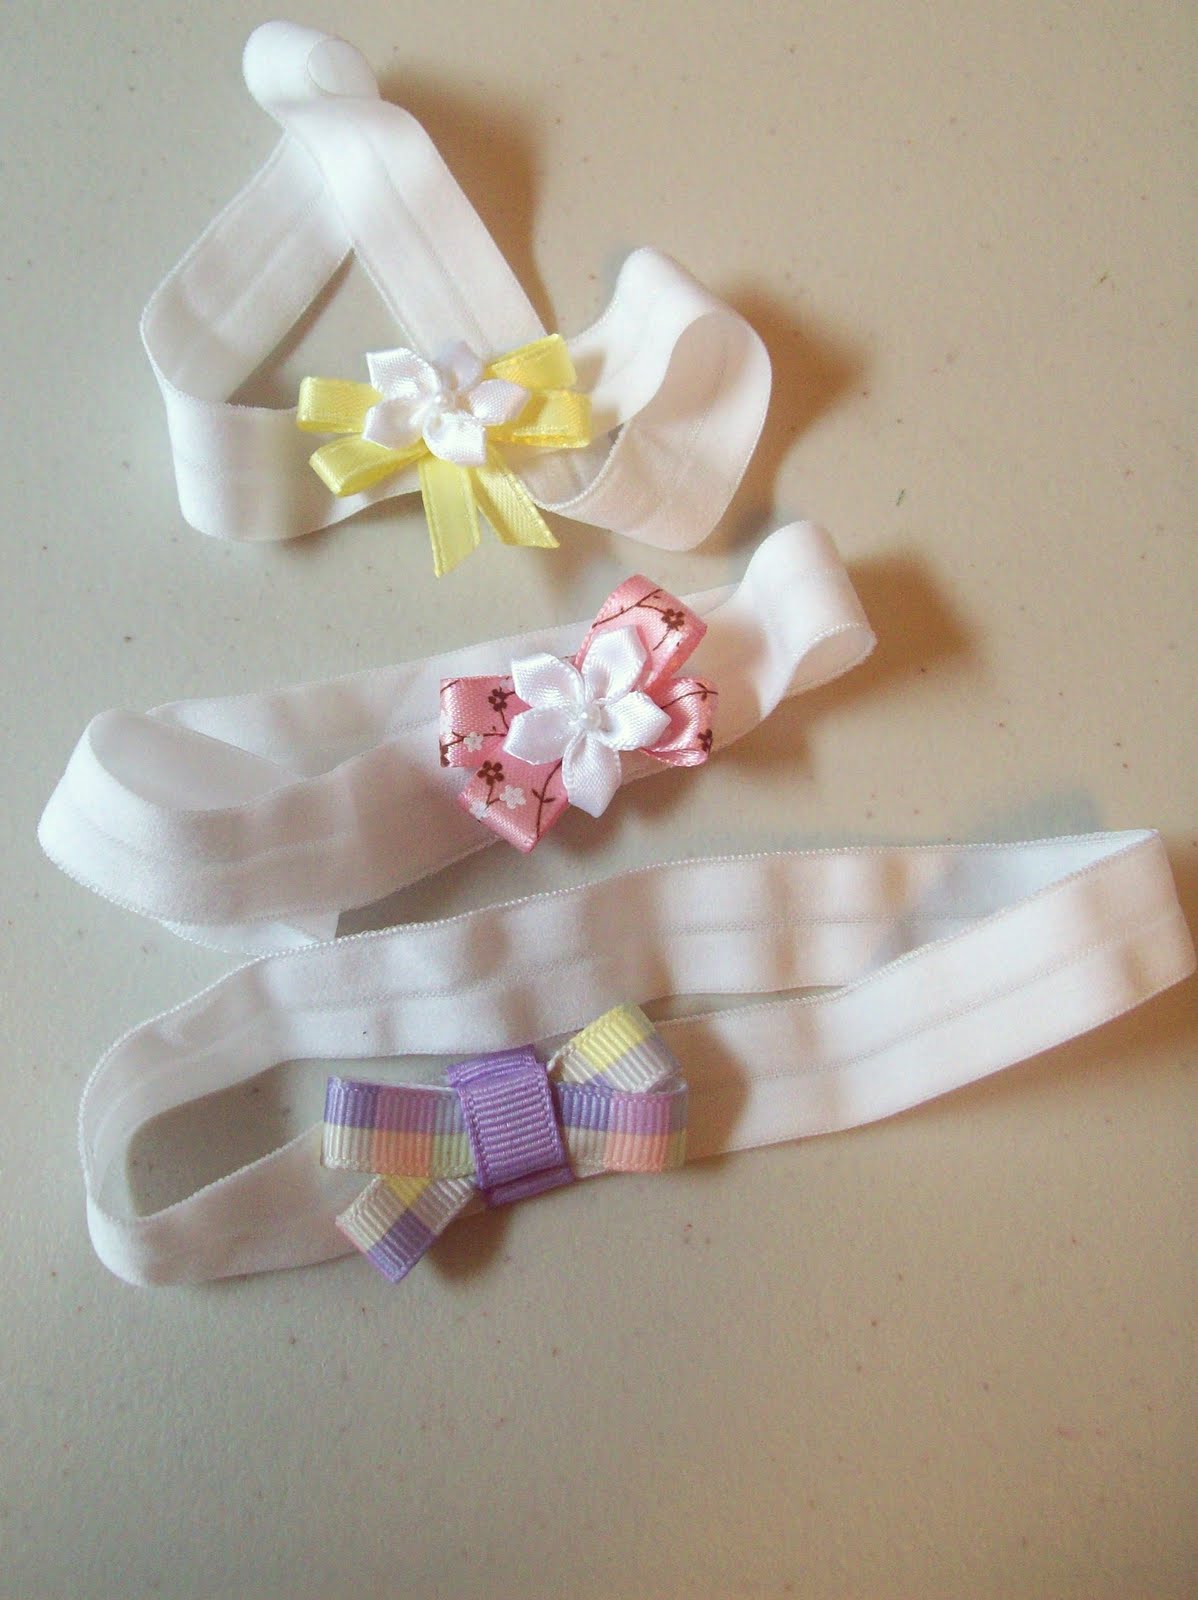
This final headband/bow is my absolute favorite. Unfortunately, I can't take credit for it all.

My sister-in-law bought a headband similar to this one and decided that it wouldn't be hard to duplicate. She took two pieces of white ribbon and sewed them together on both edges. She then put thin elastic through the openings of the ribbon and cinched up the ribbon. I then sewed the ribbon together with both seams facing one way. I then took one of the white flowers and carefully looped the purple ribbon around it and held it in place with hot glue over the seam edges to hide the seam.

I can see myself making several of these in the future. Now I just need my own little girl to wear them!
A few of the websites that I've used frequently to help make my bows are:
Posh n Pretty (Basic Bow)
Paper Seed (Basic Bow)
Girly Things (Wide Variety of Bows)
My Tiny Sweet Cheeks (How to cinch bow in the middle)
Little Millie & Me (Fold-Over Elastic)
These are just a few of the many tutorial that are out there. If you have questions about any bows or headbands that I've done feel free to leave me a comment and I'll get back to you.
Subscribe to:
Posts (Atom)